
皆さんはフォルダ構造を調べたいと思った際、どのように対応されていますか?
階層が単一であれば、該当フォルダにアクセスするだけで簡単に確認できます。しかし、各フォルダに複数のサブフォルダが存在する場合、その構造を把握するのは手間がかかると感じることでしょう。
このような場面で便利なのがtreeコマンドです。
Powershell(Windows)でもbash(Linux)でも利用可能ですが、それぞれが全く別物のtreeであるため、使い慣れた方法で利用することは難しいです。
この記事では、下記のサイトを参考に「Powershellでbash(Linux)のtreeコマンドを使用する方法」について解説します。
それぞれのtreeの違い
treeコマンドは、単にtreeと入力するだけでフォルダ構造が一覧できる便利なコマンドです。しかし、Powershellとbashではその挙動が異なり、bashのtreeに慣れている方にとっては混乱することがあります。
以下に、それぞれのtreeコマンドの挙動の相違点をまとめました。
Powershell(Windows)のtree
まず、通常の挙動を確認しましょう。 現在、以下のようなディレクトリにいると仮定します。
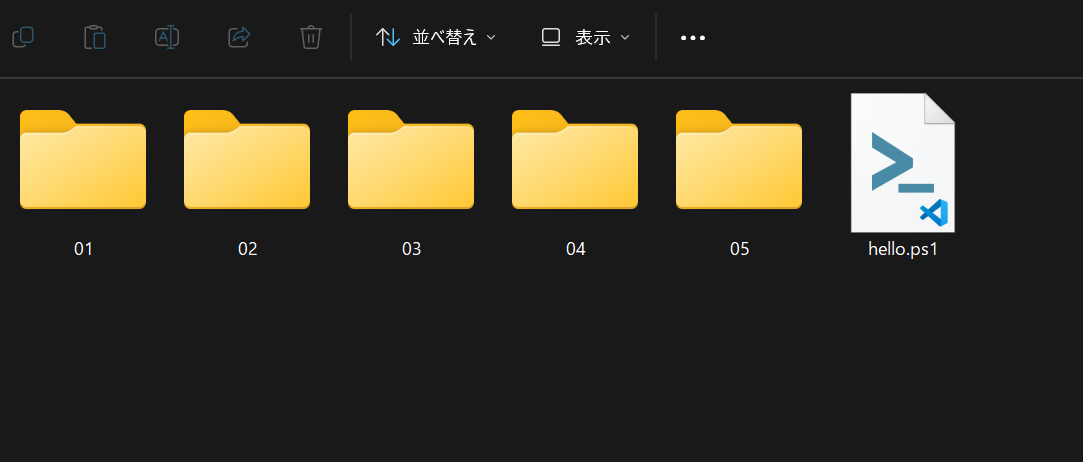
「01」から「05」までのフォルダと、hello.ps1というファイルが1つだけ存在しています。
ここで、treeコマンドを実行してみます。
PS C:\Users\ユーザー名\テスト> tree
フォルダー パスの一覧
ボリューム シリアル番号は A6A1-7AA2 です
C:.
├─01
├─02
├─03
├─04
└─05
この実行ではフォルダのみが表示されました。
ファイルも表示するには /f を引数に渡します。
PS C:\Users\ユーザー名\テスト> tree /f
フォルダー パスの一覧
ボリューム シリアル番号は A6A1-7AA2 です
C:.
│  hello.ps1
│
├─01
├─02
├─03
├─04
└─05
/? を渡せばヘルプが表示されます。
PS C:\Users\ユーザー名\テスト> tree /?
ドライブやパスのフォルダー構造を図式表示します。

TREE [ドライブ:][パス] [/F] [/A]

   /F   各フォルダーのファイル名を表示します。
   /A   拡張文字ではなく、ASCII 文字で表示します。
詳細については以下をご参照ください。

bash(Linux)のtree
同様に、Linuxでもtreeコマンドを実行してみます。
ユーザー名@PC名 MINGW64 ~/テスト
$ tree
.
|-- 01
|-- 02
|-- 03
|-- 04
|-- 05
`-- hello.ps1

5 directories, 1 file今回はファイルも表示されています。
逆にフォルダだけを表示してみるには -d を渡してみましょう。
ユーザー名@PC名 MINGW64 ~/テスト
$ tree -d
.
|-- 01
|-- 02
|-- 03
|-- 04
`-- 05

5 directories--help を渡せばヘルプが表示されます。
ユーザー名@PC名 MINGW64 ~/テスト
$ tree --help
usage: tree [-adfghilnpqrstuvxACDFNS] [-H baseHREF] [-T title ] [-L level [-R]]
        [-P pattern] [-I pattern] [-o filename] [--version] [--help] [--inodes]
        [--device] [--noreport] [--nolinks] [--dirsfirst] [--charset charset]
        [--filelimit #] [<directory list>]
  -a            All files are listed.
  -d            List directories only.
  -l            Follow symbolic links like directories.
  -f            Print the full path prefix for each file.
  -i            Don't print indentation lines.
  -q            Print non-printable characters as '?'.
  -N            Print non-printable characters as is.
  -p            Print the protections for each file.
  -u            Displays file owner or UID number.
  -g            Displays file group owner or GID number.
  -s            Print the size in bytes of each file.
  -h            Print the size in a more human readable way.
  -D            Print the date of last modification.
  -F            Appends '/', '=', '*', or '|' as per ls -F.
  -v            Sort files alphanumerically by version.
  -r            Sort files in reverse alphanumeric order.
  -t            Sort files by last modification time.
  -x            Stay on current filesystem only.
  -L level      Descend only level directories deep.
  -A            Print ANSI lines graphic indentation lines.
  -S            Print with ASCII graphics indentation lines.
  -n            Turn colorization off always (-C overrides).
  -C            Turn colorization on always.
  -P pattern    List only those files that match the pattern given.
  -I pattern    Do not list files that match the given pattern.
  -H baseHREF   Prints out HTML format with baseHREF as top directory.
  -T string     Replace the default HTML title and H1 header with string.
  -R            Rerun tree when max dir level reached.
  -o file       Output to file instead of stdout.
  --inodes      Print inode number of each file.
  --device      Print device ID number to which each file belongs.
  --noreport    Turn off file/directory count at end of tree listing.
  --nolinks     Turn off hyperlinks in HTML output.
  --dirsfirst   List directories before files.
  --charset X   Use charset X for HTML and indentation line output.
--filelimit # Do not descend dirs with more than # files in them.オプションの数が全く異なります。 このように、treeは「フォルダを木構造で表示する」という点では同じですが、Powershellとbashそれぞれの使い勝手がまったく異なるコマンドであることが分かります。
詳細については以下をご参照ください。
【tree】コマンド――ディレクトリをツリー状に表示する:Linux基本コマンドTips(179) – @IT
Powershell(Windows)でbash(Linux)のtreeを使う方法
それでは、PowershellでLinuxの「tree」を使う方法を解説します。以下の記事を参考にしました。

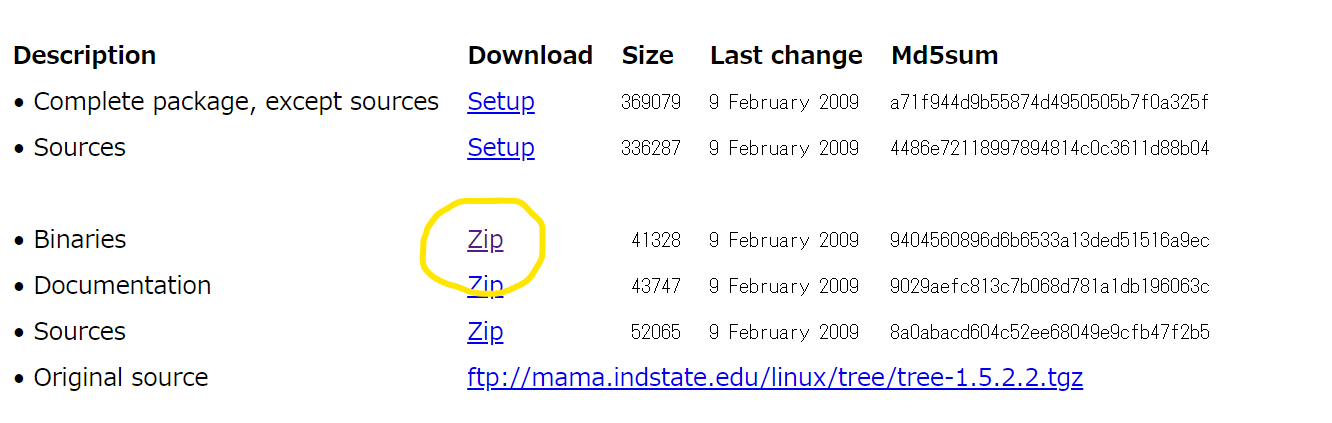
WindowsでLinuxのtreeを使用するには、Tree for Windows から提供されているZipファイルをダウンロードして解凍します。
解凍した中には、tree.exeというファイルが含まれていますので、これをC:\Users\ユーザー名\exe\に配置します。 その後、C:\Users\ユーザー名\exeにPATHを通します。
Profile.ps1に以下の追記をしてください。
# Profile.ps1
$env:path +=';C:\Users\ユーザー名\exe'

# エイリアス登録(function)
function tree() {
    tree.exe $args
}
PATHの通し方について詳細を知りたい方は、以下の記事をご参照ください。

これにより、LinuxのtreeがPowershellで使用可能になります。 先程と同じフォルダで実行してみます。
PS C:\Users\ユーザー名\テスト> tree
.
|-- 01
|-- 02
|-- 03
|-- 04
|-- 05
`-- hello.ps1

5 directories, 1 file
無事に実行できました。
【応用】 線を滑らかにして、文字化けしないようにする
これで、LinuxのtreeをPowershellで実行できるようになりましたが。
しかし線が見づらいですし、実はこのままですと、日本語が文字化けします。
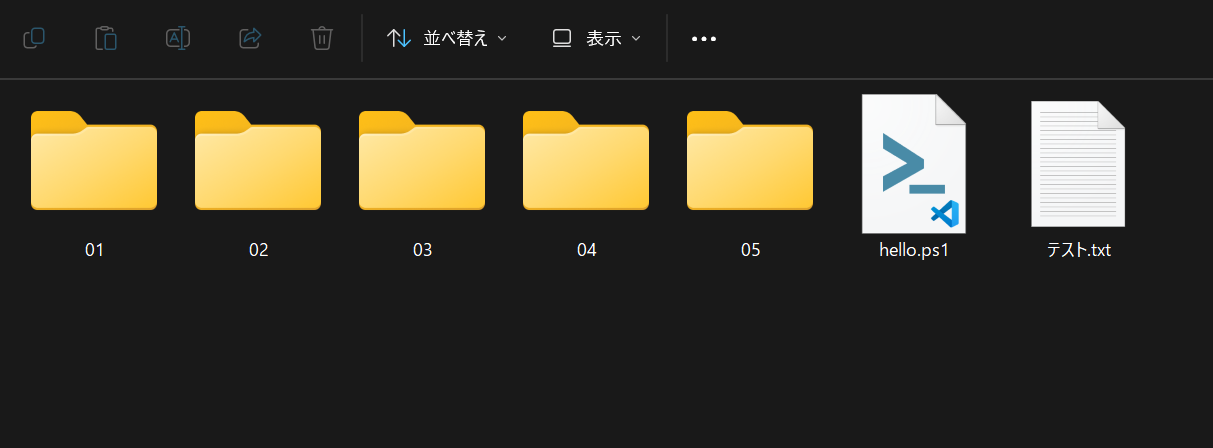
現在フォルダにテスト.txtを追加して、treeを実行してみます。
PS C:\Users\ユーザー名\テスト> tree
.
|-- 01
|-- 02
|-- 03
|-- 04
|-- 05
|-- hello.ps1
`-- \203e\203X\203g.txt

5 directories, 2 files
すると、テスト.txtは上記のように文字化けしてしまいました。 これを回避するためには-Nオプションを使用します。
PS C:\Users\ユーザー名\テスト> tree -N
.
|-- 01
|-- 02
|-- 03
|-- 04
|-- 05
|-- hello.ps1
`-- テスト.txt

5 directories, 2 files
さらに、線を滑らかにするには-Aオプションを使います。
PS C:\Users\ユーザー名\テスト> tree -N -A
.
├── 01
├── 02
├── 03
├── 04
├── 05
├── hello.ps1
└── テスト.txt

5 directories, 2 files
これで非常に見やすくなりました。 treeを使う際は常にこれらの2つのオプションが有効になって欲しいので、先程の Profile.ps1 を以下のように変更します。
# Profile.ps1
$env:path +=';C:\Users\ユーザー名\exe'

# エイリアス登録(function)
function tree() {
    tree.exe -N -A $args
}
これによりデフォルトで線が滑らかになり、文字化けも解消されます。
PS C:\Users\ユーザー名\テスト> tree
.
├── 01
├── 02
├── 03
├── 04
├── 05
├── hello.ps1
└── テスト.txt

5 directories, 2 files
まとめ
この記事では、「PowershellでLinuxのtreeを使う方法」を解説しました。
PowershellでLinuxのtreeを利用するには、Tree for Windows からtree.exeをダウンロードし、それをPATHが通っているフォルダに配置するだけです。
手順は非常に簡単ですので、ぜひお試しください。